
Hanging curtains the right way can transform any room, adding elegance, style, and a polished look to your windows. At first glance, the process may seem intimidating, but in reality, it’s a straightforward DIY project that saves money and brings a rewarding sense of accomplishment. This step-by-step guide will walk you through everything you need to know so even beginners can achieve a professional finish.
Step 1: Gather Your Tools
Before you begin, make sure you have everything prepared. The right tools and materials will make the job much smoother. You’ll need:
1.Curtains and hardware
2.Measuring tape (or a laser measurer)
3.Pencil
4.Drill
5.Screws and wall anchors
6.Ladder or step stool
Step 2: Measure Accurately
Proper measurements are essential for a polished look.
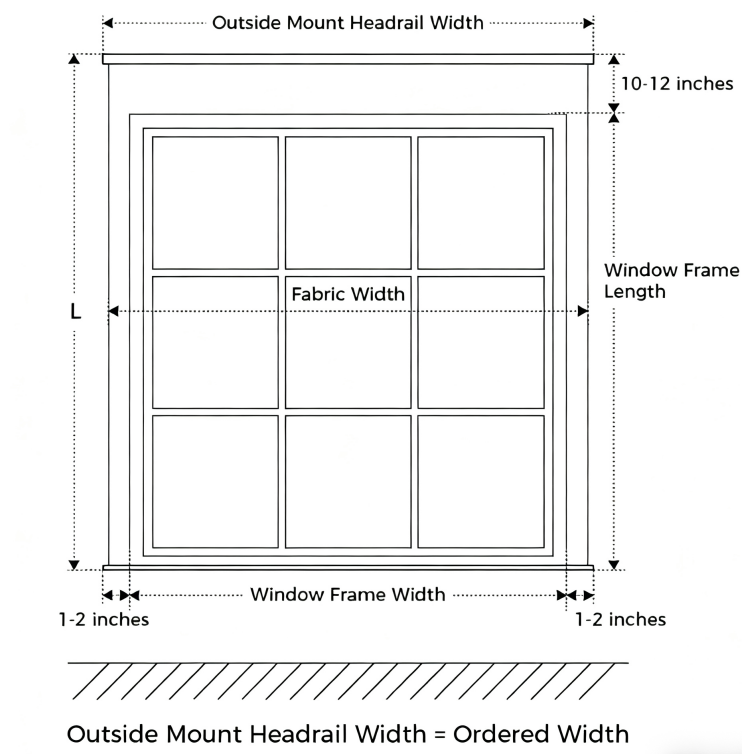
Width:
Measure the width of your window from left to right with a tape measure, keeping it level. If you’d like the curtains to extend beyond the window frame (a popular choice for a larger, brighter appearance), add 4–6 inches (10–15 cm) on each side. This extra space, called the stack back, ensures your curtains don’t block too much glass when open.
Height:
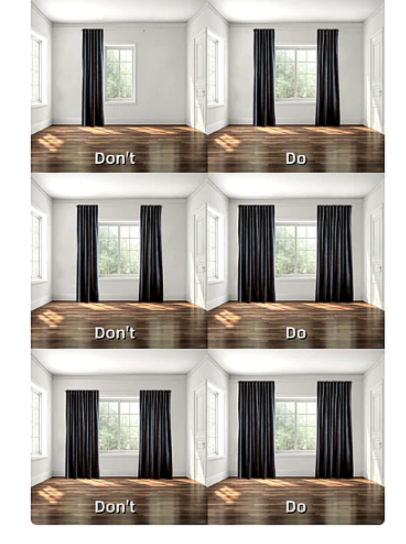
Decide where you’d like the curtains to fall. Start measuring from above the window frame (the higher the rod, the taller your window will appear) down to your desired endpoint—just above the sill, grazing the floor, or pooling slightly for a more dramatic effect.
Pro tip: A laser measurer can save you time and measure an entire room in minutes.
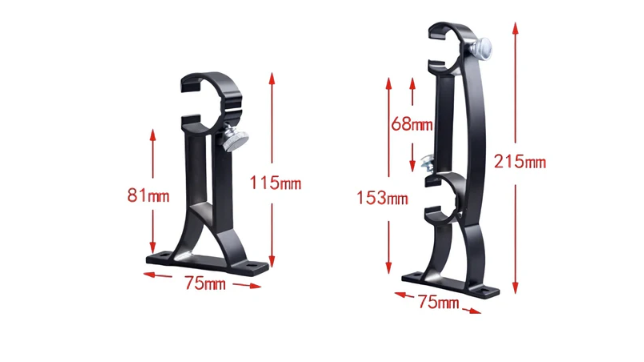
Step 3: Install the Brackets
Choose the height:
For a balanced, stylish look, place the brackets 4–6 inches above the window frame. This enhances height and allows for better draping.
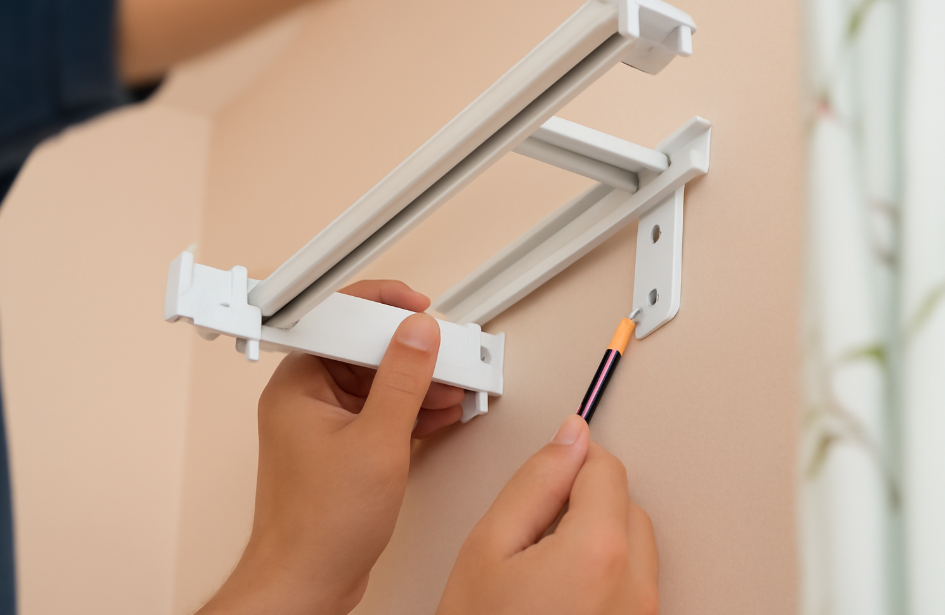
Mark the wall:
Use a pencil to mark where the top screws of each bracket will go. Always check with a level to ensure the marks are even.
Secure the brackets:
Drill pilot holes. If you hit a stud, perfect—secure the screws directly. If not, insert wall anchors for support. Then, screw the brackets firmly into place. Test them with a gentle pull to confirm stability.
Step 4: Position the Curtain Rod
Insert the rod:
Slide the rod into the brackets. Step back to see if it looks centered above the window.
Level and secure:
Use your level again to ensure the rod is perfectly horizontal. If your brackets include set screws, tighten them carefully without over-tightening. The rod should feel sturdy with no wobbling.
Step 5: Hang the Curtains
Now comes the fun part—adding the curtains! Depending on your style, you can choose different hanging methods:
Rod pocket: Fabric slides directly onto the rod, creating a gathered top.
Grommets/eyelets: Metal rings slide over the rod for easy movement.
Hooks or pleats: Attach hooks at the back of the curtain and hang them from rings or directly on the rod.
Rings or clips: Small clips hold the top edge of the fabric, spaced evenly for a balanced look.
Adjust the fabric:
Once your curtains are up, spread the panels evenly and create neat, uniform pleats. Proper fullness gives a polished, elegant appearance, while uneven folds can look messy.
If your curtains are too long, you can use temporary hemming tape as a quick no-sew fix until you adjust them permanently.
Final Thoughts
Hanging curtains might seem like a daunting task, but with careful measuring, the right hardware, and these simple steps, anyone can do it. Take your time to ensure accuracy, and don’t be afraid to experiment with different fabrics, finishes, and accessories to reflect your style.
The right curtain installation not only enhances privacy and light control but also elevates your entire room—making your home both stylish and inviting.